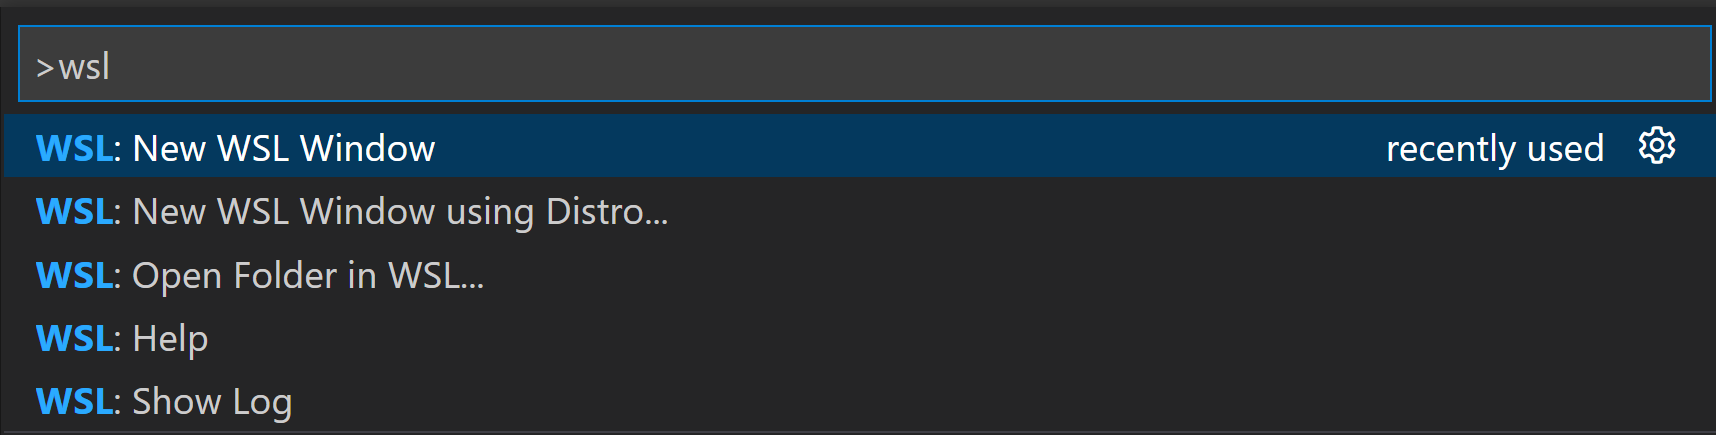
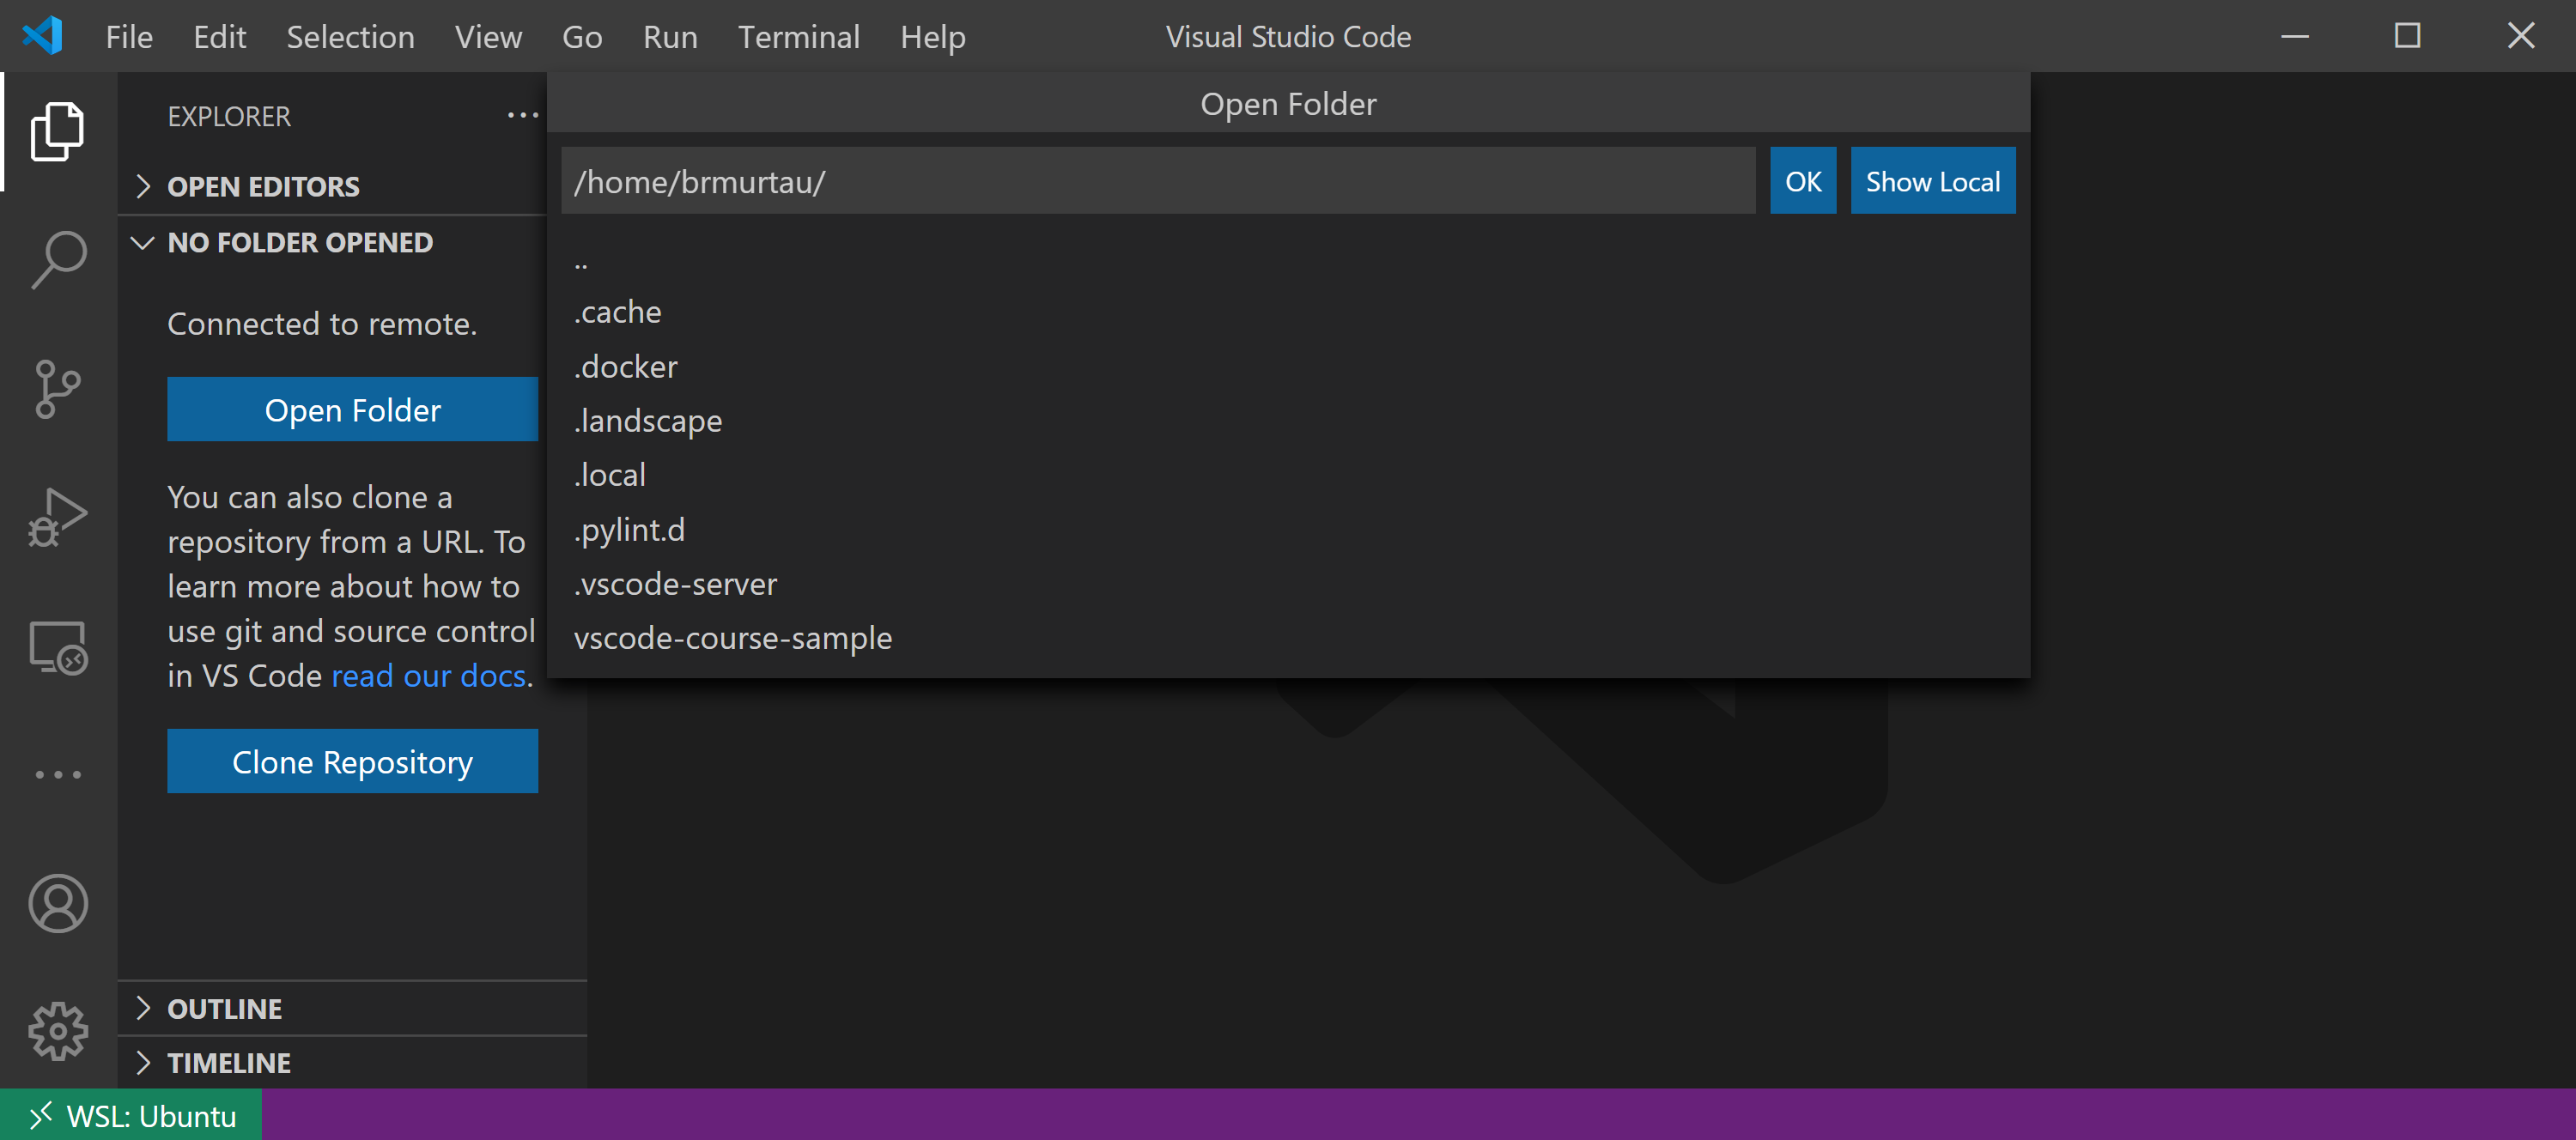
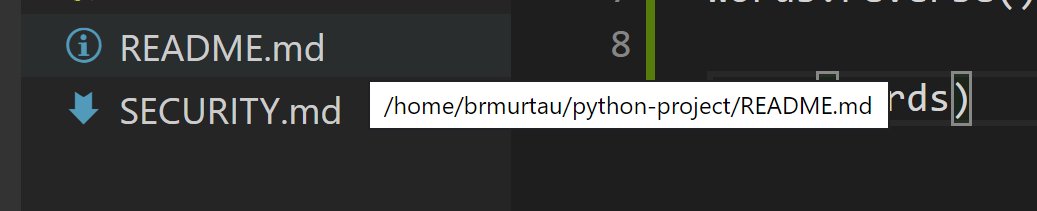
Visual Studio Code WSLThe WSL extension lets you use VS Code on Windows to build Linux applications that run on the [color=var(--vscode-textLink-foreground)]Windows Subsystem for Linux (WSL). You get all the productivity of Windows while developing with Linux-based tools, runtimes, and utilities. The WSL extension lets you use VS Code in WSL just as you would from Windows. Why do I need the WSL extension?Why WSL?WSL lets you run a Linux environment -- including command-line tools and applications -- directly on Windows, without the overhead of a traditional virtual machine or dualboot setup. WSL especially helps web developers and those working with Bash and Linux-first tools (i.e. Ruby, Python) to use their toolchain on Windows and ensure consistency between development and production environments. When you install a version of Linux on Windows, you’re getting a full Linux environment. It's isolated from Windows- the UI is the terminal, and you can install tools, languages, and compilers into the Linux environment without modifying or disrupting your Windows installation. We recommend using WSL 2 as you will benefit from significant [color=var(--vscode-textLink-foreground)]performance advantages over WSL 1. Why the WSL extension in VS Code?While you can edit files in Linux using Windows-based tools, you can’t easily run or debug on Windows: you'd have to install all the same tools on Windows as you did on Linux, defeating the purpose of having an isolated Linux environment. You could view files from your \\wsl.localhost\ share, but you wouldn't have access to features such as autocomplete, debugging, or linting. With VS Code and the WSL extension combined, VS Code’s UI runs on Windows, and all your commands, extensions, and even the terminal, run on Linux. You get the full VS Code experience, including autocomplete and debugging, powered by the tools and compilers installed on Linux. Getting startedYou can launch a new instance of VS Code connected to WSL by opening a WSL terminal, navigating to the folder of your choice, and typing code .: To get started with your first app using the WSL extension, check out the step-by-step WSL tutorial in docs: [color=var(--vscode-textLink-foreground)]WSL Getting Started TutorialCommandsThe extension adds several commands to VS Code. You can bring them up by pressing F1 to open the Command Palette and typing in WSL, or by selecting the remote indicator in the lower left corner of the status bar: WSL: New Window A new VS Code window will open, connected to your default WSL distro. Notice the remote indicator updates to the WSL distro to which you are now connected (in this case, Ubuntu). You can select the Open Folder button to view the contents of your remote Linux distro's file system: When you select a folder, VS Code will set up the environment, and a new VS Code window will appear with the contents of that WSL folder. When you hover over any of the files within your folder, notice they have the correct Linux paths: To open a Terminal, you can use the Ctrl+` keyboard shortcut. Notice that when you run “uname,” it shows you’re on a Linux machine: WSL: New Window Using Distro... Like WSL: New Window, this command opens a new VS Code window connected to WSL. But first, it opens a quick pick so that you can select a specific WSL distro: WSL: Reopen Folder in WSL Reopen a folder in WSL that is currently open in a VS Code instance connected to Windows. If your folder resides in the WSL file system, hovering over it will display a Linux path. If your folder resides in Windows, you’ll see the mount point that was automatically created by WSL, i.e. /mnt/c/<file_path>. Note: To optimize for the fastest performance speed, store your project files in the Linux file system (i.e. \\wsl$\Ubuntu-18.04\home\<user name>\Project), not the Windows file system (i.e. C:\Users\<user name>\Project). If your files currently reside on Windows, we recommend copying them to the Linux file system. See the [color=var(--vscode-textLink-foreground)]WSL documentation for more information about working with files.
Additional configurationUsing an Alpine Linux based distro? Extensions may not work due to glibc dependencies in native code inside the extension. See the [color=var(--vscode-textLink-foreground)]Remote Development and Linux article for details. Working with Git? Here are two tips to consider: - If you are working with the same repository from both Linux and Windows, be sure to set up consistent line endings. See [color=var(--vscode-textLink-foreground)]tips and tricks to learn how.
- You can avoid setting up passwords on Linux by configuring WSL to use the Windows Git credential manager. See [color=var(--vscode-textLink-foreground)]tips and tricks for details.
Further readingYou can check out the [color=var(--vscode-textLink-foreground)]WSL extension documentation to learn more about working within WSL in VS Code, and the [color=var(--vscode-textLink-foreground)]WSL docs to learn more about WSL in general. Release NotesThis extension releases with VS Code. [color=var(--vscode-textLink-foreground)]VS Code release notes include a summary of changes to all Remote Development extensions with a link to [color=var(--vscode-textLink-foreground)]detailed release notes. As with VS Code itself, the extensions update during a development iteration with changes that are only available in [color=var(--vscode-textLink-foreground)]VS Code Insiders Edition. Questions, Feedback, ContributingHave a question or feedback? TelemetryVisual Studio Code WSL and related extensions collect telemetry data to help us build a better experience working remotely from VS Code. We only collect data on which commands are executed. We do not collect any information about image names, paths, etc. The extension respects the telemetry.enableTelemetry setting which you can learn more about in the [color=var(--vscode-textLink-foreground)]Visual Studio Code FAQ. LicenseBy downloading and using the Visual Studio WSL extension and its related components, you agree to the product [color=var(--vscode-textLink-foreground)]license terms and [color=var(--vscode-textLink-foreground)]privacy statement.
| 


 发表于 2025-4-4 00:11:38


 收藏
收藏
